-
Sentry on premise 적용하기프로그래밍/opensource 2022. 4. 13. 11:22
0. 시작하기
현재 개발하고, 사용중인 앱의 성능을 측정할 수 있는 기능이 필요하였습니다.
여러 솔루션 서비스와 기능들을 검색 중, opensource인 sentry on premis를 적용 해보았습니다.
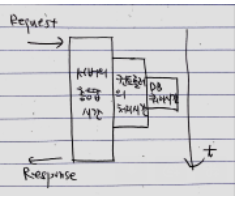
총 3단계로 나누어서 profile을 합니다.
- 서버 총응답시간
- 컨트롤러 처리 시간
- DB 쿼리시간

1. ec2 환경 설치하기
ec2환경에서 docker로 sentry를 실행시킵니다.
ㄱ. Sentry 설치 시 요구사항 (2022-04-10일 기준)
- Docker 19.03.6+
- Compose 1.28.0+
- 4 CPU Cores
- 8 GB RAM
- 20 GB Free Disk Space
ㄴ. ec2 linux sentry 실행
//yum 업데이트
sudo yum update

//도커 설치
sudo yum install docker

//도커 실행
sudo service docker start

//docker-compose 설치
sudo curl -L "https://github.com/docker/compose/releases/download/1.28.2/docker-compose-$(uname -s)-$(uname -m)" -o /usr/local/bin/docker-compose

//docker-compose 링크 설정
sudo ln -s /usr/local/bin/docker-compose /usr/bin/docker-compose

//실행권한주기
sudo chmod +x /usr/local/bin/docker-compose

//git 설치
sudo yum install git

//폴더 만들기 => /data/sentry

//git clone
git clone https://github.com/getsentry/self-hosted.git

//sentry 설치
sudo ./install.sh

//sentry 설치 후 docker-compose를 실행 시킨다
sudo docker-compose up -d

//현재 컨테이너가 떠져 있는 리스트를 확인한다.
sudo docker ps -a
ㄷ. sudo docker ps -a를 입력하면 9000포트로 호출을 할 수 있습니다.

ㄹ. sudo docker ps -a를 입력하면 9000포트로 호출을 할 수 있습니다.
- 정상 연결이 되는 지 확인 하기 위해, 다른 ip에서 해당 ip로 호출 해 봅니다. wget xxx.xx.xx.xxx:9000

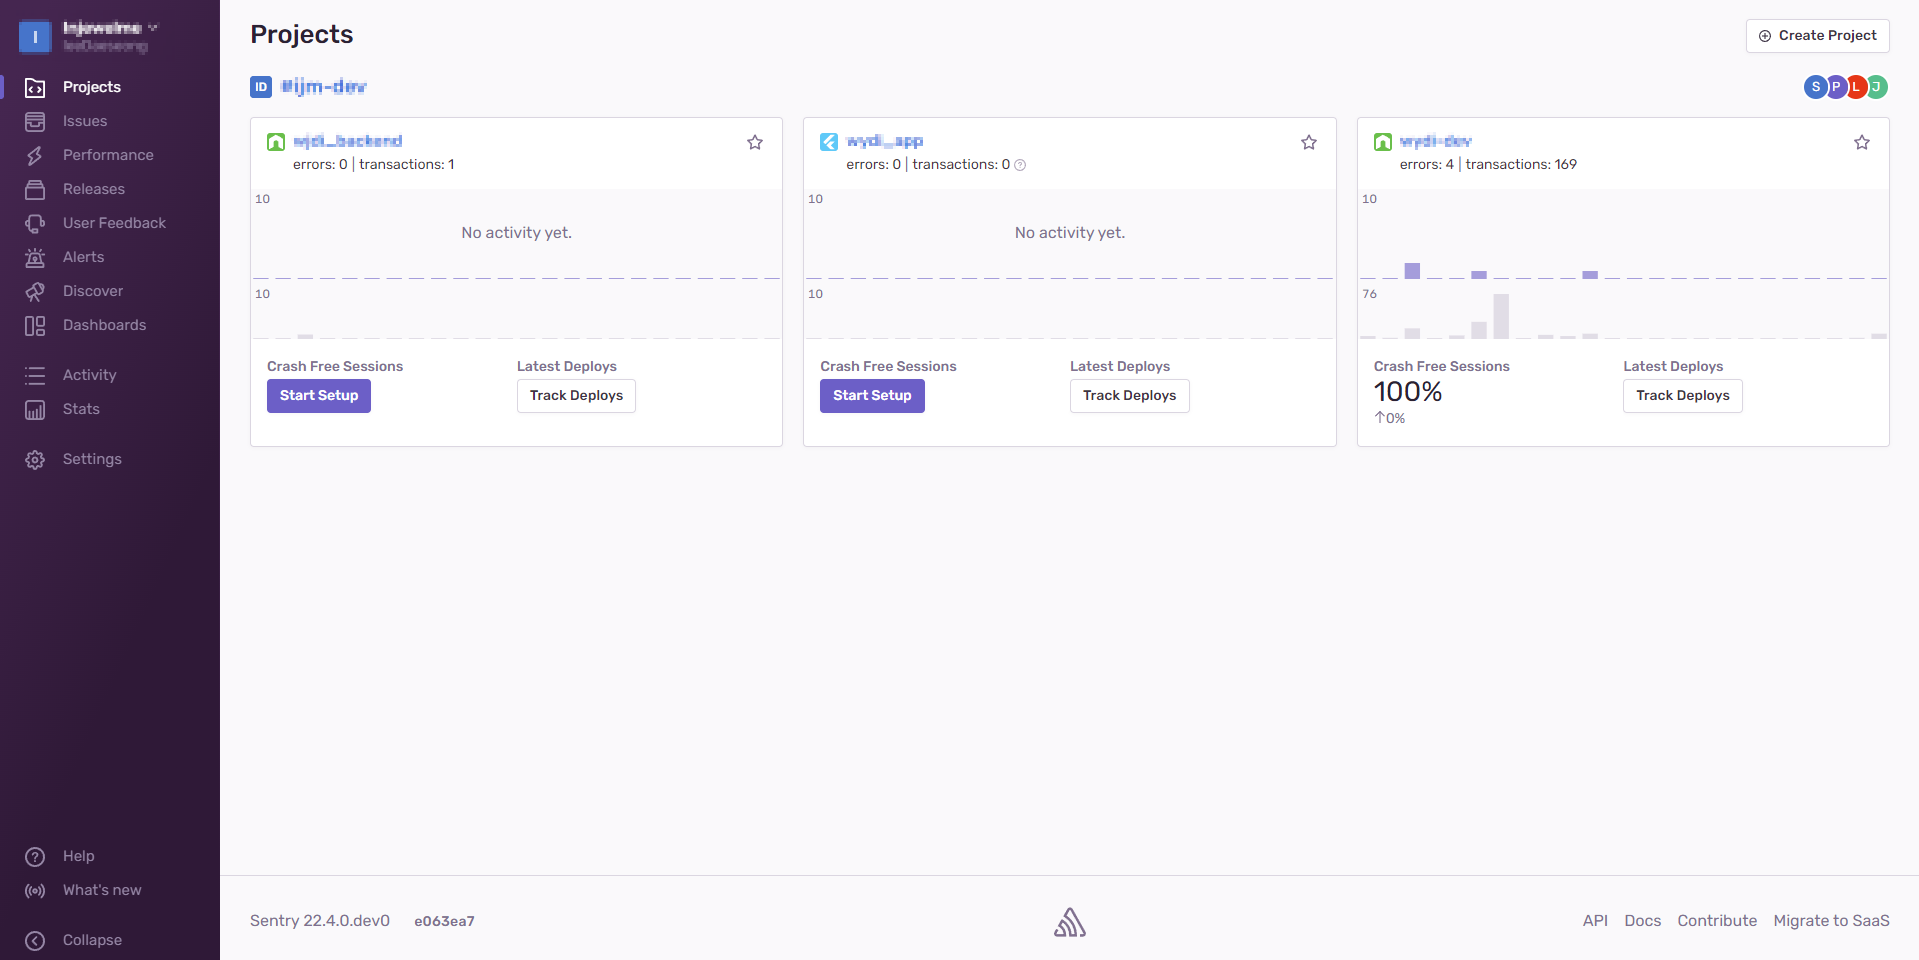
정상적으로 호출이 되는 것을 볼 수 있습니다. 실제 접속 화면은 아래와 같습니다.

2. 앱과 sentry 연결하기
ㄱ. Sentry With Express
npm install --save @sentry/node @sentry/tracingimport express from "express"; import * as Sentry from "@sentry/node"; import * as Tracing from "@sentry/tracing"; // or using CommonJS // const express = require('express'); // const Sentry = require('@sentry/node'); const app = express(); Sentry.init({ dsn: "<https://examplePublicKey@o0.ingest.sentry.io/0>", //하단 DSN 참조 integrations: [ new Sentry.Integrations.Http({ tracing: true }), new Tracing.Integrations.Express({app,}), new Tracing.Integrations.Mongo(), new Tracing.Integrations.Postgres(), ], // We recommend adjusting this value in production, or using tracesSampler // for finer control tracesSampleRate: 1.0, }); // The request handler must be the first middleware on the app app.use(Sentry.Handlers.requestHandler() as express.RequestHandler); // All controllers should live here app.get("/", function rootHandler(req, res) { res.end("Hello world!"); }); // The error handler must be before any other error middleware and after all controllers app.use(Sentry.Handlers.errorHandler() as express.ErrorRequestHandler); // Optional fallthrough error handler app.use(function onError(err, req, res, next) { // The error id is attached to `res.sentry` to be returned // and optionally displayed to the user for support. res.statusCode = 500; res.end(res.sentry + "\\n"); });- 오류가 발생하는 router를 생성하여 Sentry를 테스트 할 수 있습니다.
app.get("/debug-sentry", function mainHandler(req, res) {
  throw new Error("My first Sentry error!");
});
ㄴ. DSN 설정
- Settings → Projects → Client Keys(DSN)
- {PROTOCOL}://{PUBLIC_KEY}:{SECRET_KEY}@{HOST}{PATH}/{PROJECT_ID}
- Sentry.init({ dsn: "<https://public@apm.xxxxx.com/1>" });
ㄷ. ENV 설정
개발 서버와 운영서버가 나누어져있기 때문에, env설정을 통하여 구분 해 줍니다.
APM_SENTRY_ENV=productionㄹ. Custom Instrumentation
typescript의 데코레이터를 활용해서 측정할 영역을 지정하도록 하겠습니다.
//profiler.ts

import express from 'express'
import * as Sentry from "@sentry/node";
import { Span } from "@sentry/types/types/span";

interface Params {
    op: string,
    description: string,
}

export function captureTransaction(params:Params){
    return function (target: any, key: string, desc: PropertyDescriptor): void {
        const method = desc.value;
        desc.value = async function (req: express.Request, res: express.Response, next: express.NextFunction) {
            try {
                const transaction = Sentry.getCurrentHub().getScope()?.getTransaction();
                let span: Span | undefined;
                if (transaction) {
                    span = transaction.startChild({
                        op: params.op,
                        description: params.description,
                    });
                }

                // Do something
                const result = await method(req, res, next) as express.Response;

                if (transaction && span) {
                    span.finish();
                }
                return result;
            } catch (error) {
                console.error(error);
                next(error);
            }
        }
    }
}
만든 함수를 annotation형식으로 사용합니다.
import express from 'express'
import { captureTransaction } from '../../util/profiler'

class AchievementController {
  @captureTransaction({op: "controller", description: "getMyAchievement"})
  static async getMyAchievement (req: express.Request, res: express.Response, next: express.NextFunction) {
    let errors = validationResult(req);
    if (!errors.isEmpty()) {
      console.error(errors.array());
      return res.status(400).json({ resCode: resCode.InvalidParameter });
    }

    try {
      const result = await ChildAchievementV5.findAll({
        where: {
          childId: res.locals.childId,
        },
        include: [{
          model: AchievementV5,
          as: 'Achievement'
        }],
        order: [['mainAchieveOrder', 'ASC']]
      });

      return res.json({ resCode: resCode.OK, myAchievements: result });
    } catch (e) {
      console.log(e);
      return res.status(500).json({ resCode: resCode.RetryLater });
    }
  }
}
4. 마무리
아래 사진처럼, 데코레이터로 걸어 놓은 지점의 처리 속도를 파악할 수 있습니다.

5. 참조
https://develop.sentry.dev/self-hosted/
Self-Hosted Sentry
In addition to making its source code available publicly, Sentry offers and maintains a minimal setup that works out-of-the-box for simple use cases. This repos
develop.sentry.dev